Covering a Polytunnel
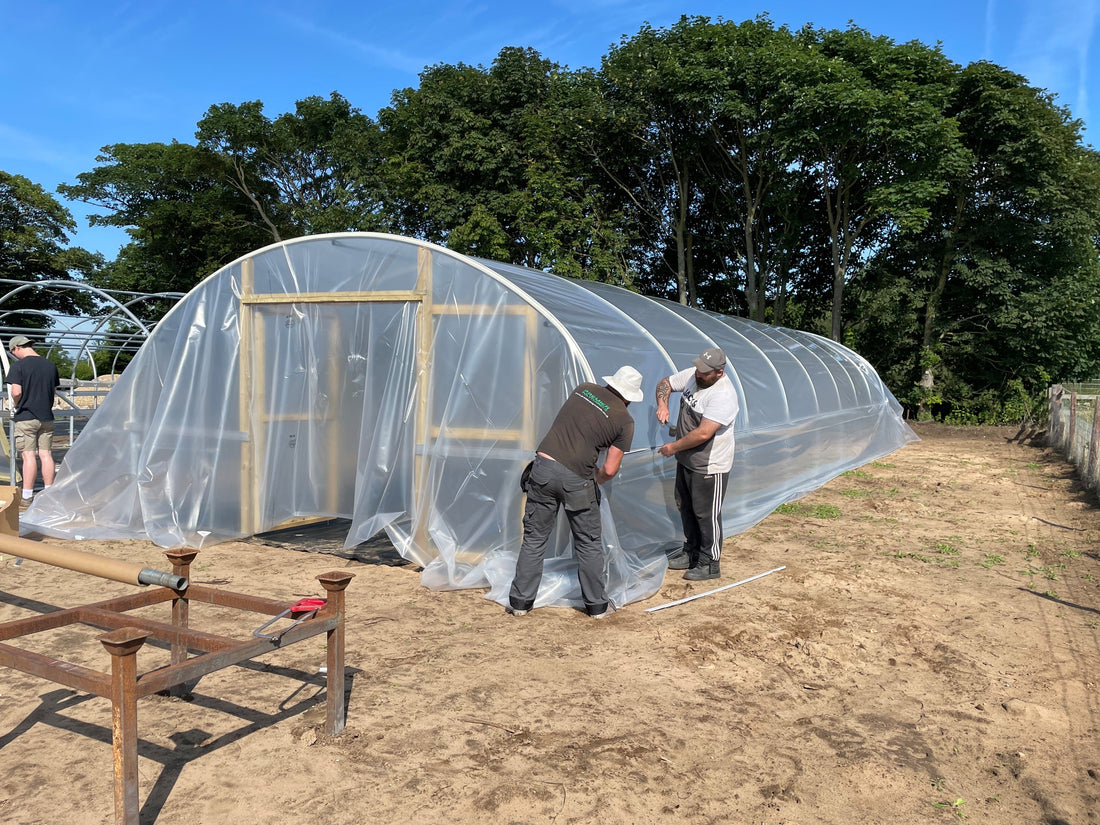
A common myth about polytunnel covers is that you need to wait for a warm day or until summer before fitting them. The truth is that the most popular time of year for the sale of replacement polytunnel covers and for covering a polytunnel is in the run up to and during spring.
Introduction
A common myth about polytunnel covers is that you need to wait for a warm day or until summer before fitting them.
The truth is that the most popular time of year for the sale of replacement polytunnel covers and for covering a polytunnel is in the run up to and during spring when the British weather can still be very cold.
When it comes to fitting your polytunnel plastic, a warm day is preferable as this gives the polythene more flexibility, but a warm day is not essential for getting the cover tight, especially if you have the option to re-tension the cover after fitting (eg, with Cover Tensioning Tubes or Base Rails).
A calm day, however, is without a doubt necessary as when you open up the sheet of polythene you are effectively opening a large sail. We recommend checking the wind and gust speeds when you are planning your polytunnel cover fitting.
What size of cover?
Gardeners and growers in need of a replacement polytunnel cover can calculate the exact size of cover required by entering the measurements of their polytunnel into our online calculator.
To use our online calculator, you will need to know the length and height of the polytunnel – these measurements are used to work out the length of cover required.
You will need to the distance over the hoop (from the ground on one side, up and over the curved hoop, to the ground on the opposite side) to determine which width of polythene is required.
You will also need to know if the polytunnel plastic is to be buried in a trench in the ground, or if it is to be fixed to timber or aluminium base rails at ground level to make sure you are supplied the correct width of cover.
We recommend applying Anti Hot Spot Tape to the hoops prior to covering a polytunnel to protect the polythene from degradation due to friction and the built up heat in the polytunnel frame.
How to cover a polytunnel?
The most important part of covering a polytunnel is getting the polythene cover as taut as possible. There are two main ways to fit a polytunnel cover: burying the polythene in a trench around the base of the frame, or fixing it to timber or aluminium base rails at ground level. Whether you are using ‘trenching’ method or the ‘base rail’ method, the initial stage of covering a polytunnel is the same:
First stage of covering a polytunnel
Start by rolling the polytunnel cover out along one side of the tunnel and pull it over the framework. Make sure the cover is central both along the length and across the width of the polytunnel. Do not worry if the cover does not reach the ground at the ends at this stage.
Fix the polythene to the centre of the timber door frame lintel at one end using a timber batten and nails. Pull the cover tight along the length of the polytunnel and fix it to the centre of the lintel at the opposite end.
Trenching a polytunnel cover
If you are using the trenching method, work down one side of the polytunnel, starting in the middle and working towards each end. Tension the polythene down into the trench and backfill with soil as you go. Repeat this on the opposite side, getting as much tension into the cover as possible.
Fitting a polytunnel cover to base rails
If you are using base rails, tension the cover down to the rails, starting in the middle and working towards each end. Once the cover is fixed all the way around the base rails and door frames, the rails can be adjusted and lowered to add extra tension to the cover.
Final stage of covering a polytunnel
Once the sides are secure, it is time to cover the ends. At each corner, cut the polythene in line with the end of the tunnel, but only below ground level when ‘trenching’ or below the base rails. This allows the cover to come smoothly around the end hoop.
Starting at the timber door frame lintel, grip the polythene and pull it tightly while twisting your wrist to create a selection of pleats. Work towards the door post, fixing the polythene to the door frame with a timber batten and nails as you go. Repeat the same process down each door post. You should run out of pleats by the time you reach the level of the straight side of the hoop. From there, the polythene should form a smooth, flat panel.
Finally, tension the cover down at each corner and secure it before carefully trimming any excess polythene around the door opening.
Taking your time and getting as much tension into the polythene cover as possible will help give you a neat, drum tight finish and reduce the amount of movement in the cover.
Watch the short video below to see the different methods you can use to cover a polytunnel and achieve a neat, secure finish.


