Why & How To Clean Your Polytunnel Cover

If you're growing in a polytunnel, you already know how valuable sunlight is to your plants. A clean polythene cover is more than cosmetic—it is vital for your growing space’s performance and longevity.
Introduction
If you're growing in a polytunnel, you already know how valuable sunlight is to your plants. A clean polythene cover is more than cosmetic—it is vital for your growing space’s performance and longevity. Read on to find out why giving your cover regular TLC pays off, and how to do it the easy way.
Why Cleaning Your Polytunnel Matters
- Maximise Light Transmission – Grime, algae, and dirt build up over time, reducing the amount of sunlight reaching your crops. This compromises your polytunnel’s effectiveness and can stunt the growth of your plants.
- Boost Durability and Prevent Damage – Maintaining your cover and keeping it clean helps to prolong the life of the polythene, ensuring you can spot and repair any holes or tears, and prevent damage from wind and friction.
- Reduce Disease and Pest Risks – Algae and mould thrive in damp, dirty environments and can harbour harmful pathogens. A clean polytunnel cover supports plant health by discouraging these unwelcome pests.
How to Clean Your Polytunnel Cover
One of the safest and most effective ways to clean your polytunnel cover is by using a soft brush and a clean sheet. Here’s how to do it:
What You’ll Need:
- A large, clean sheet
- A sponge or soft-bristled brush
- A hose or watering can
- A mild soapy water solution
- A friend or family member to help
How should a polytunnel be cleaned?
Step 1: Clear the Deck
Brush off any loose leaves, twigs, or cobwebs from the polytunnel cover using the soft brush. Work gently to avoid scratching the surface.
Remove plants if they’re close to the polythene, sweep away debris, and clear paths to give yourself space and reduce the chance of dragging dirt back onto the cover.
Step 2: Rinse Thoroughly
Use a watering can or hose to wet the surface inside and out. This loosens dirt and algae, making it easier to clean.
Step 3: Prepare the Sheet
Soak the sheet in clean, lukewarm water. If needed, add a little mild soapy water – avoid harsh detergents or chemicals, as these can degrade the polythene over time. Wring out just enough so it’s damp, not dripping.
Step 4: Lay the Sheet Over the Polytunnel
With the help of another person, carefully pull the damp sheet over the top of the polytunnel so it can be reached from each side.
Step 5: Pull the Sheet Back and Forth
With the help of a person standing on the opposite side, pull the sheet back and forth over the top of the polytunnel to rub off the algae and lift off dirt without scratching the cover.
Step 6: Clean the Sides
Use a wet sponge or soft-bristled brush to wipe the sides of the polytunnel clean.
For smaller polytunnels, you may even be able to reach and clean the roof with a long handled soft brush.
Step 7: Rinse if Needed
If there’s soapy water or stubborn dirt, lightly rinse the cover with clean water from a hose or watering can.
Step 8: Clean the Inside
Using a wet sponge or soft-bristled brush again, work your way around the inside of the polytunnel, wiping and cleaning away any algae and dirt from the cover.
Polytunnel Cleaning Chemicals
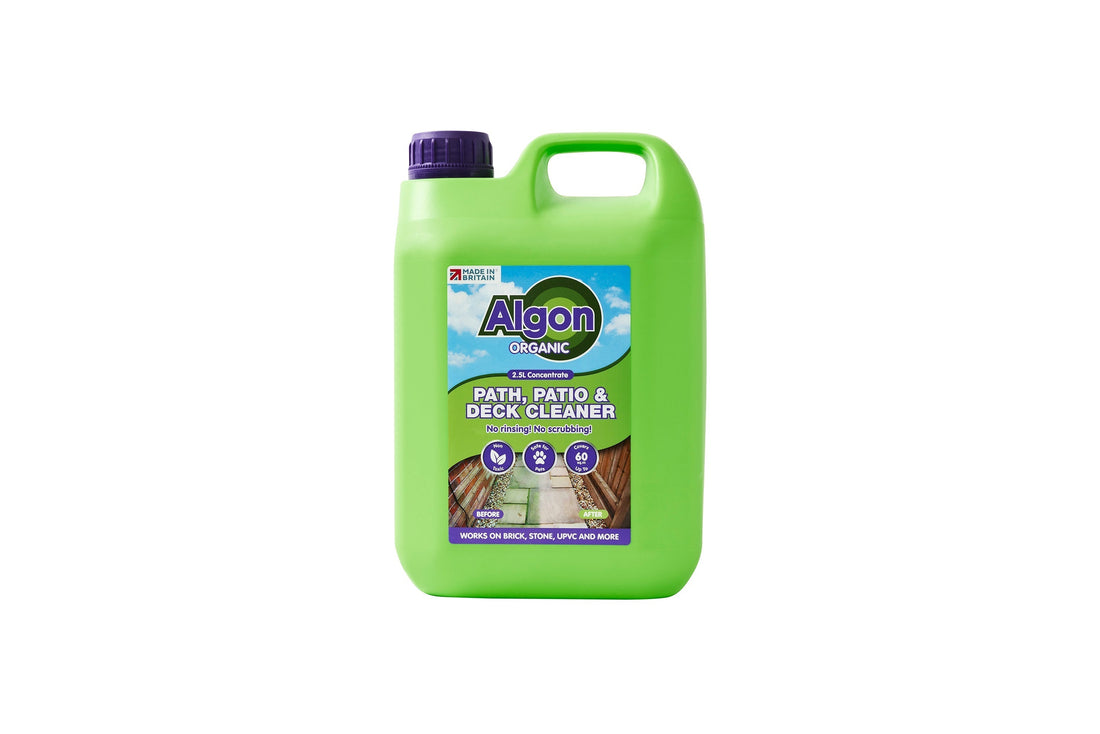
Premier Polytunnels stock Algon, a non-toxic, organic cleaner that’s safe for pets and wildlife, and even fish ponds. Simply mix one part Algon to three parts water, apply with a fine spray or a soft brush, then leave it to work. There’s no need for scrubbing or rinsing – just walk away and watch the results appear in days.
Keep It Bright and Healthy
Regularly cleaning your polytunnel cover is a simple but powerful way to protect your investment and keep your plants thriving. By removing dirt, algae, and debris, you’re ensuring maximum light reaches your crops, reducing the risk of disease, and extending the lifespan of the cover itself. A little time spent maintaining your polytunnel every year can save you money, effort, and disappointment in the future – keeping your growing space in top condition season after season.


